The Apple “iPhone is disabled. Connect to iTunes” error makes it so you won't be able to unlock the device until specific steps are taken. Learn how to fix this issue here.
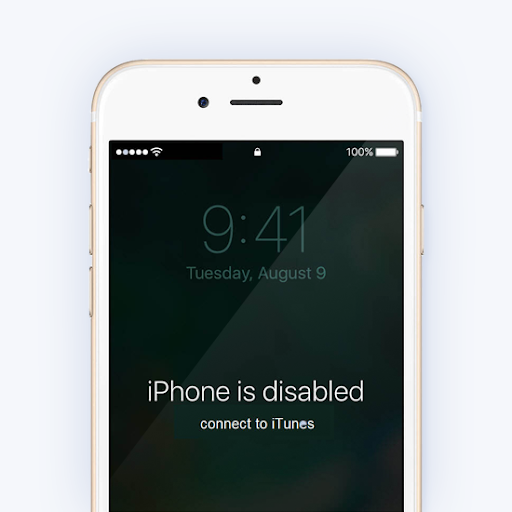
If your screen reads "iPhone is disabled," the most likely cause is too many wrong passcode attempts. You will need to erase your device to remove the lock and passcode, then re-sync it with iTunes.
- Wrong passcode 5 times in a row: iPhone is disabled for 1 minute.
- Wrong passcode 7 times in a row: iPhone is disabled for 5 minutes.
- Wrong passcode 8 times in a row: iPhone is disabled for 15 minutes.
- Wrong passcode 9 times in a row: iPhone is disabled for 60 minutes.
- Wrong passcode 10 times in a row: iPhone is indefinitely disabled.
After making 10 consecutive wrong passcode entries, your iPhone will enter a disabled state. This means you won’t be able to try and unlock your phone again until you connect to iTunes on a Mac or PC.
Once your phone reaches this point, you’ll need to connect to iTunes through a Mac or PC. Doing so will enable the option to restore or recover all data on your device.
- By restoring a backup, you’ll be able to return your data prior to your phone getting disabled. You may restore a backup of your iPhone if you previously made one or have automatic backups enabled in your Settings.
- Recovery will wipe your phone clean and remove the passcode, allowing you to start over and set a new one. This results in your apps, contacts, and personal data getting removed.
Here’s what you’ll need to do to get past the “iPhone is disabled. Connect to iTunes, a Mac, or PC” screen.
Step 1. Enter recovery mode
Entering the recovery mode requires different steps based on your iPhone model or settings. If you’re unsure which one you have, check the back of your phone or the user manual you received in the original box.
iPhone 8 and later
- Press and hold the Side button used to lock your screen and either one of the Volume buttons. Wait for the power-off slider to appear on the screen.
- Drag the slider all the way to the right to turn off your iPhone.
- Use a USB cable to plug your iPhone into a Mac or PC while holding the Side button. Continue holding the button until the recovery screen appears.
- Follow the on-screen instructions to recover your iPhone.
Step 2. Locate your iPhone on your Mac or PC
After entering recovery mode, you’ll need to proceed on your Mac or PC. Depending on your operating system, follow the guide below to start recovering your smartphone and possibly restoring data.
macOS Catalina
- Open a Finder window.
- Your iPhone will show up on the left side of the Finder window under Locations. You can click on it to select it.
macOS Mojave or older, or a PC running iTunes for Windows
If your device isn’t running macOS Catalina or later, you’ll have to use iTunes in order to connect your iPhone. First, download iTunes and install it on your computer. Take the appropriate steps depending on which version of iTunes your device is running:
- On iTunes 12 and older, click on the iPhone icon in the upper-left corner of the iTunes window.
- On iTunes 11, click on the iPhone tab displayed on the right side of the iTunes window.
On iTunes 10, the iPhone will be in the sidebar on the left.
Step 3. Choose the option to Restore
Once you’ve successfully connected and selected your iPhone on a Mac or a PC, you need to click on the Restore option.
Warning: When you restore your iPhone, all of the data on your phone will be wiped including your passcode. The latest compatible iOS version will download and install on your phone. You’ll be required to complete the setup process as well.
After the restoration is finished, follow the on-screen prompts to set up your iPhone again. If you have a backup of your data, you can restore it from iTunes. We recommend creating frequent device backups to prepare for something like this happening in the future.